Seating Chart 101 for Your Wedding at The Oaks
This blog post takes a deep dive into what might be the most daunting task of wedding planning – the dreaded seating chart. We know that creating a seating chart can feel overwhelming, which is why we created this guide to make the process more manageable and help you navigate it with confidence. We’ll be sharing our go-to tips and suggestions, as well as any specific requirements we have at The Oaks.
Table of Contents
The Importance of a Seating Chart
If you know anyone who’s planned a wedding, you’ve probably heard them complain about how tricky the seating chart can be. There’s a lot to consider – you want to seat some family members together while keeping others apart, tables can only fit so many people, and what’s the etiquette for a single’s table anyway?
Although creating a seating chart may be a bit stressful, having one is absolutely essential to ensuring a seamless and enjoyable dining experience.
1. Facilitates smoother transitions
Having designated seats, or at least tables, makes the transition from cocktail hour to dinner much more efficient. It provides structure as guests navigate a new space. Instead of wandering around or saving seats, guests know exactly where to go, reducing confusion and saving time.
2. Keeps your timeline on track
Moving a large group of people from one place to another can take a lot longer than you might think. With a seating chart, our staff can help direct guests to their table quickly so that we can move into what matters most – dinner, toasts, and dancing – without delays!
3. Improves guest experience
Choosing a seat among a large group of people can be intimidating, especially for guests who may not know a lot of the other people in attendance. A seating chart eliminates that decision for guests and any stress that comes with it. With a seating chart, you can intentionally seat guests with others they know, with whom they might share interests, or enjoy spending time with. This keeps the conversation flowing and creates a more enjoyable experience for your guests.
4. Avoids uncomfortable or tense situations
If guests are left to choose their seats, awkward situations may arise. With a seating chart, you can ensure that you separate guests who may not get along, keep friends and families together, and place important family members or VIPs where they will feel included and appreciated.
5. Maximizes space
A seating chart will help you plan table sizes, floor plans, and centerpieces, ensuring guests fit comfortably and the room looks balanced. Without one, you may end up with chairs being moved around the room, resulting in some tables being crowded and others empty.
6. Supports dinner service
Finally, a seating chart is essential for your caterers (us) to provide the most enjoyable dining experience for you and your guests. We need to know where each guest is sitting to carefully accommodate allergies or dietary restrictions and to serve the right meal to each guest.
Planning Your Table Layout & Seating Arrangements
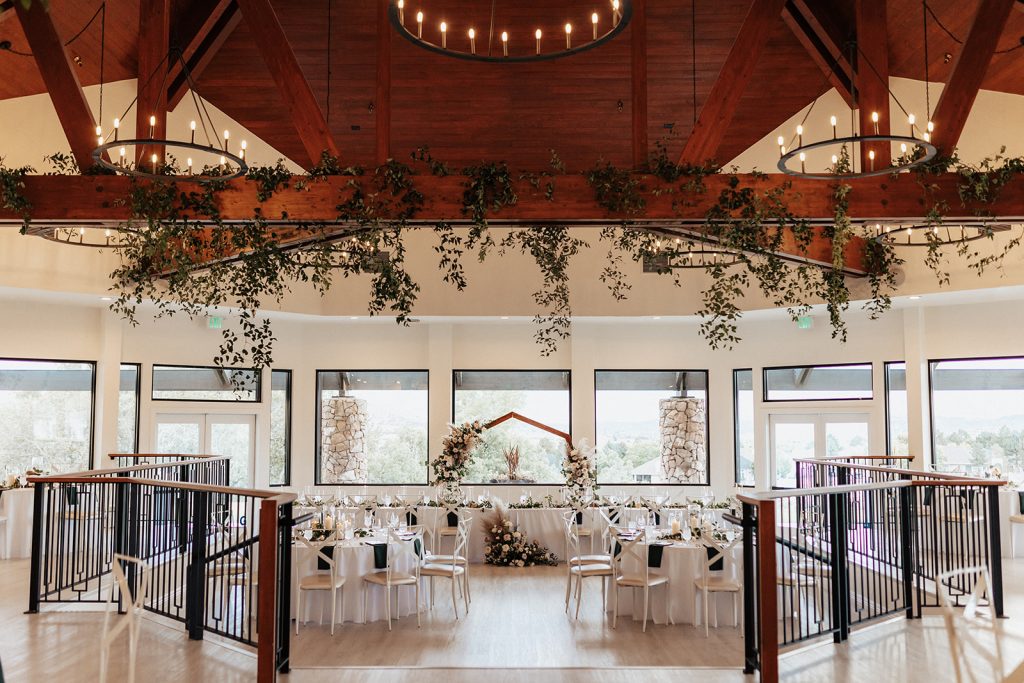
We have hundreds of floor plan options for guest counts of all sizes, and are happy to create custom layouts as well. We’ll have a general idea of your guest count at your final walkthrough meeting a month before the wedding, and we can help select the best layout for your design vision and guest list. If you want to get a head start, click here to view some sample floor plans.
While we can’t create your seating chart for you (you know your guests best), we can offer some helpful tips for making the process as seamless as possible.
1. Wait until your guest list is finalized
While it’s okay to start thinking about your floor plan in advance, you’ll save yourself time and stress by waiting to make your seating chart until your RSVP list is complete. This will help avoid constant revisions as your guest list changes, and will make it easier to accurately group your guests.
2. Group guests by compatibility
Once you have your final RSVP list, group guests into clusters by relation first – think families, close friends, college friends, coworkers, etc. Once guests are grouped, it will be easier to place them at tables of the correct size.
3. Prioritize comfort and guest experience
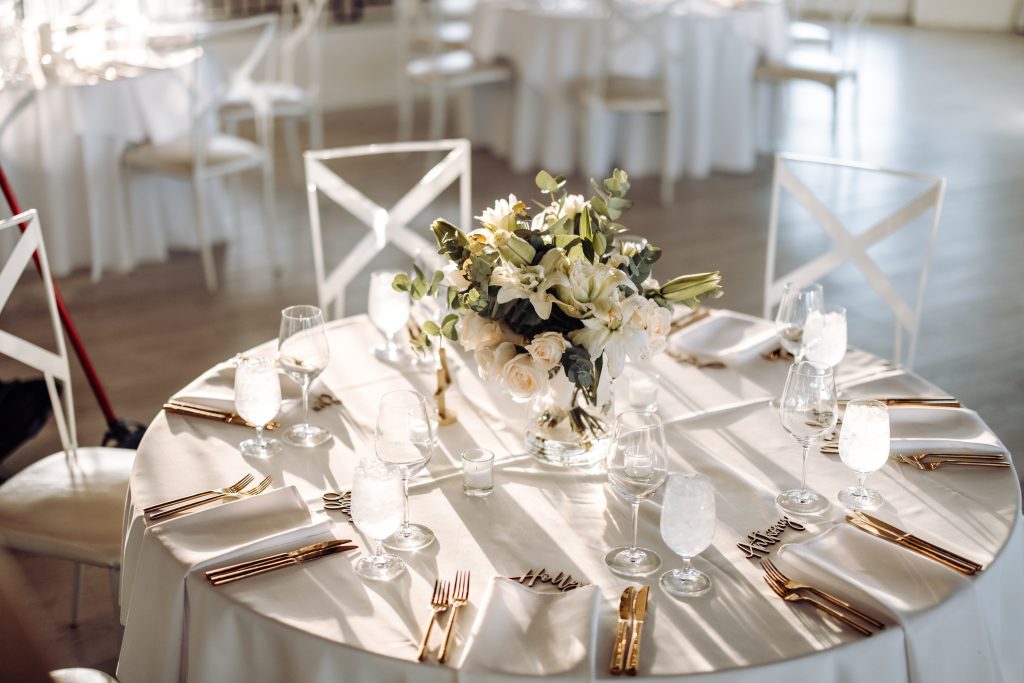
We recommend using more tables with fewer guests for maximum comfort. (Make sure to double-check table capacity to prevent overcrowding!) Keep in mind, charger plates take up more space than a standard dinner plate. If you plan on using chargers, let your coordinator know so that we can help you plan accordingly!
4. Share plans with your coordinator
While we’ll need your final seating chart and floor plan for set-up and dinner service purposes, your coordinator can also help identify any potential concerns ahead of time. We can also provide valuable insight on spacing, flow, and service to ensure that everything runs smoothly.
5. Expect a few last-minute changes
Inevitably, you’ll have a last-minute seat change, addition, or cancellation. It happens! Just make sure to communicate any changes with your coordinator as soon as possible.
Seating Chart Display Options
Once you’ve finalized your floor plan and seating chart, you have three different options for relaying that information to your guests. You can either create a standard seating chart, pair a seating chart with place cards, or make escort cards.
Something to note is that some of our menu packages have specific requirements. If you selected a Guest Choice Plated meal, you must provide meal choice indicators for each guest. An indicator is something that relays guests’ meal selections to our staff. We typically see couples use a small icon, such as a picture of a cow or chicken, to indicate the guest’s meal choice. Alternative options are to spell out the word, such as “Salmon” or “Chicken,” or to coordinate colors to different menu options, such as red for steak, and green for vegetarian.
If you plan to serve a Guest Choice Plated meal, you’ll need to select a seating chart option with a card (either a place card or escort card) to display your indicator on. This could be either Option 2 or Option 3 below.
As a reminder:
- If you selected our Single Entree, Buffet, or Stations package, choose any option below
- If you selected one of our Guest Choice Plated packages, choose between option #2 or option #3 below
Option 1: Seating Chart Only
The first option is to create a standard seating chart that lists guest’s names and their corresponding table number. This is a great option if you are serving a single entree, dual entree buffet, or stations at your wedding.
With a standard seating chart, guests will have an assigned table, but not an assigned seat. If you prefer to designate specific seats for your guests, option number two would be a better choice for you!
**Please note, this is not an option for a guest-choice plated meal. If you are planning a guest-choice plated meal for your wedding day, please choose one of the following two options**
Tips for designing your seating chart:
Here are a few suggestions for creating your seating chart. These tips will help guests take their seats more quickly, leaving more time for the moments that matter most, like visiting with loved ones and hitting the dance floor.
1. Alphabetize by last name
There are two ways to arrange your seating chart: either by table number or alphabetically by last name. While arranging names by table number is a popular choice, it’s not what we typically recommend, especially for larger guest counts.
Arranging the names on your seating chart alphabetically will make it much easier for guests to find their names, reducing the time it takes to get everyone seated for dinner. We also suggest sorting by last name, as families sharing the same last name will spot their table number even faster.
2. Clearly mark sections
Indicating sections for each letter of the alphabet helps quickly direct guests to the area of the chart where their name is located.
3. Use an easy-to-read font
Finally, using a large, bold font will make this process even smoother. Skip the script fonts and instead choose something simple and easy to read for maximum efficiency.
Option 2: Seating Chart & Place Cards
If you want to display a seating chart for your wedding but selected one of our guest-choice menu options, you can simply pair your seating chart with place cards! While the seating chart will help guests find their table, the place card will indicate their meal selection, along with any allergies, to our staff.
Each place card should include the guest’s name and an indicator of their entree selection. It is also helpful to include any relevant allergies on place cards; otherwise, we will set out our own allergy cards, which might not be as pretty as yours! Your coordinator can help you determine which allergies are relevant based on your menu.
With this option, place cards will be pre-set at the table, designating a specific seat for every guest. We recommend organizing your place cards in the exact order you want guests to be seated, or providing us with a simple diagram showing where each card should be placed.
This is our preferred seating chart option, but if you would rather allow guests to choose their own seat at their table, the next choice may be ideal for you.
A quick note on indicators:
Our goal is to provide the most seamless and enjoyable dining experience for your guests. The purpose of an indicator is to clearly communicate to our staff what each guest ordered. When our staff visits a table to drop off plates, they will be looking for that indicator. Indicators that are too small or unclear may be hard to find or understand, which will slow down dinner service. The faster our staff can identify the indicator, the faster your guests are served their meals! For that reason, we ask that you ensure the indicator is clearly visible, easy to read, or easy to understand. We suggest avoiding script fonts or complex color systems. Our favorite indicators are simple icons, such as an image of a cow, fish, chicken, or plant!
Option 3: Escort Cards
An escort card is essentially an indicator card, but instead of being placed at the table, it is placed outside of the ballroom and doubles as a seating chart.
An escort card must include the guest’s name, table number, and entree selection.
Once guests locate their name, they will take their card with them to their table. Once at their table, they may choose any seat they like.
We always suggest listing guests’ first and last names on escort cards, and ask that you organize your cards alphabetically by last name. This will make it easier for guests to locate their card and take their site.
What's the Difference Between an Indicator Card, Place Card, and Escort Card?
Great question! These terms get thrown around so much when discussing wedding seating arrangements, and although they are sometimes used interchangeably, they do have distinct meanings.
Indicator Cards
An indicator card is a general term referring to any card that includes a meal choice indicator. This indicator can be a word, icon, or symbol that communicates what each guest is eating. This ensures that catering staff will serve the correct meal to the right guest. The indicator may be shown on a place card or escort card.
Place Cards vs Escort Cards
While both place cards and escort cards can have indicators, they serve different purposes. An escort card identifies a guest’s table number, while a place card designates a specific seat at a table.
A place card is pre-set at the table, designating a specific place for each guest to sit. Because guests will first need to know which table they are seated at, place cards must always be paired with a seating chart. Guests will use the seating chart to find their table, and once at their table, will look for their place card to find their seat.
On the other hand, escort cards are used as a seating chart alternative. Just like a seating chart, escort cards will be set up outside of the dining area and list each guest’s name and their table number. Once guests find their card, they will take it with them to their table; hence the name escort card. Once at their table, they can choose any seat they like.
Place Cards
- Must include the guest’s first name
- Must include a meal indicator
- May include relevant allergies
- Must be paired with a seating chart
- Located at the table
- Designates a specific seat
Escort Cards
- Must include the guest’s first and last name
- Must include a meal indicator
- Must include the guest’s table number
- Doubles as a seating chart
- Located outside of the dining area
- Does not designate a specific seat
Summary
Creating a seating chart can be tricky, but the work you do on the front end will result in a seamless and enjoyable experience on your wedding day.
While you have a few options for how to display your seating chart for guests, make sure that you check for any requirements of your selected dinner package. Guest choice plated meals require indicator cards, so you’ll want to make either place cards or escort cards.
Don’t forget to provide your coordinator with your final floor plan and seating chart, and keep them updated with any last-minute changes.
If you still have questions about your floor plan or seating chart, don’t hesitate to reach out!